My CTF Team recently participated in the UIUCTF competition. Overall we made place 59, our best absolute placement yet. A large part of our points came from the amazing pwnies_pls challenge. The challenge was particularly intriguing because it combined my two favorite fields: Cybersecurity and Machine Learning. In particular it dealt with adversarial example attacks on neural network classifiers. These are some of the weirdest and most interesting flaws of the otherwise very successful neural networks. In this post I want to provide a full walkthrough of the challenge and the underlying mechanics.
The Challenge
The challenge description only provided a link to a website.
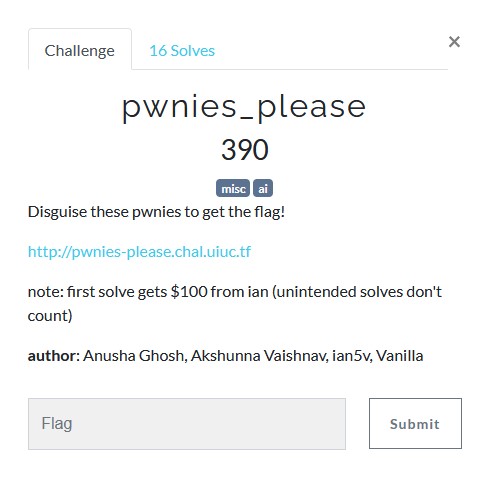
The website itself also had a simple design. It displayed a very low resolution image of a horse as well as a file upload. The user was given the task to sneak “pwnies” into the “pwny club”. However they had to be disguised otherwise a bouncer would reject them. Additionally one could download the source code of the website and a serialized state_dict for a pytorch model.

The site source
Inspecting the site source code I recognized three important blocks. Starting at the only route the program defined:
@app.route('/', methods=['GET', 'POST'])
def index():

    response = None
    img = None
        # regen_image is a bool checking if session.get('img') is None
    regen_image = session.get('img') is None

    if session.get('level') is None:
        session['level'] = 0
        session['yolo'] = 0
        session.permanent = True

    if request.method == 'POST' and 'img' in session:
        file = request.files['file']
        img_bytes = file.read()

        image = bytes_to_image(img_bytes)
        (width, height) = image.size
        depth = len(image.getbands())

        if width != 224 or height != 224 or depth != 3:
            response = f"Invalid image shape. Expecting 224 x 224 with 3 channels, got {width} x {height} with {depth} channels"
        else:
            nonrobust = get_prediction(image_bytes=img_bytes, model = model_nonrobust, curr_image = session['img'])
            robust = get_prediction(image_bytes=img_bytes, model = model_robust, curr_image = session['img'])
            # robust model is the "ground truth", non-robust is the "bouncer"
            # cases:
                # bouncer does not want to let in horses, you want to let them in anyway
                # robust says horse, non-robust says horse: you have been detected
                # robust says not horse, non-robust says horse: you fail extra hard
                # robust says horse, non-robust says not horse: flag
                # robust says not horse, non-robust says not horse: they were let in but you didn't achieve the goal
            regen_image = True
            if robust != 'horse':
                response = "you snuck SOMETHING into the club but it wasn't a pwny (changed too much, ground truth thinks image is a: robust {}\tnonrobust {})".format(robust, nonrobust)
                session['yolo'] += 1
            elif robust == 'horse' and nonrobust != 'horse':
                session['level'] = session['level'] + 1
                session['yolo'] = 0
                response = "success! the bouncer thought your horse was a: {}".format(nonrobust)
                # response = "robust = {}, nonrobust = {}".format(robust, nonrobust)
            else: # robust == 'horse' and nonrobust == 'horse':
                response = "bouncer saw through your disguise. bouncer: rules say \"NO HORSEPLAY\""
                session['yolo'] += 1
                # response += "\nrobust {}\tnonrobust {}".format(robust, nonrobust)
                # this is the most common fail condition
            if session['yolo'] > 3:
                session['yolo'] = 0
                session['level'] = 0
                response = "bouncer smacks you and you pass out, start over :)"

    if session['level'] >= MIN_LEVEL:
        response = FLAG
    elif response is None:
        response = "Hmm, alright, you've gotten %d horses into the club." % session['level']

    if regen_image or not MUST_REPEAT_CAPTCHA:
        img = gen_img()
        session['img'] = img
    else:
        img = session['img']

    return render_template('index.html', response = response, b64png = img)
Analyzing this we can see that we must provide the website with MIN_LEVEL disguised horses to receive the flag. The detection is done by two models a robust and a non-rubust one. To sneak in a horse (advance a level) the user had to fool the nonrobust model but not the robust one. This suggests we have to adhere to some ground truth and can’t just upload a completely different picture. For each level one had three tries which are reset on advancement. Next let’s look at what these models are:
imagenet_class_index = ['plane', 'car', 'bird', 'cat', 'deer', 'dog', 'frog', 'horse', 'ship', 'truck']
device = torch.device("cuda:0" if torch.cuda.is_available() else "cpu")

model_nonrobust = models.resnet18()
num_ftrs = model_nonrobust.fc.in_features
model_nonrobust.fc = nn.Linear(num_ftrs, len(imagenet_class_index))
model_nonrobust.load_state_dict(torch.load("./models/pwny_cifar_eps_0.pth", map_location = device))
model_ft = model_nonrobust.to(device)
model_nonrobust.eval()

model_robust = models.resnet18()
num_ftrs = model_robust.fc.in_features
model_robust.fc = nn.Linear(num_ftrs, len(imagenet_class_index))
model_robust.load_state_dict(torch.load("./models/pwny_cifar_eps_0.5.pth", map_location = device))
model_ft = model_robust.to(device)
model_robust.eval()
This tells us that both models are modified versions of the pretrained ResNet18. The model download button let us download the a file named pwny_cifar_eps_0.pth which means we have access to the nonrobust model but not the robust one. Finally we will examine how the get_prediction function works:
def get_prediction(image_bytes, model, curr_image = None):
    inputs = transform_image(image_bytes=image_bytes)
    outputs = model(inputs)
    preds = torch.argmax(outputs, 1)
    original = Image.open(io.BytesIO(base64.b64decode(curr_image)))

    # "where the magic happens" - akshunna
    input_image = Image.open(io.BytesIO(image_bytes))
    hash_orig = imagehash.average_hash(original)
    hash_input = imagehash.average_hash(input_image)

        # currently HASH_DIFFERENCE is 5
        # is number of bits changed in the hash
        # hash is 64 bits long
        # up to 5 hex digits can be different
        # 16 hex digits
        # 256b hash
        # 0xffff ffff ffff ffff ffff ffff ffff ffff
    if hash_orig - hash_input < HASH_DIFFERENCE:
        return imagenet_class_index[preds]
    else:
        return "IMAGE WAS TOO DIFFERENT"
Aside from some loading and transforming the images we can see that the prediction function also requires the average_hash difference to be below a certain limit. The average_hash is a hashing function which hashes the only the rough features of an image using the following steps:
- Downscale the image to 8x8 pixels
- Transform a coloured image to a greyscale image
- Calculate the average greyscale
- Convert to fully black-and-white image by determining if a pixel is above or below the average
The resulting 64 bits from the 8x8 black-and-white image are the hash.
This restriction guarantees that we have to modify the original image and therefore redo our work on each level since we can’t just find one example that will fool the bouncer.
Adversarial Examples
So how do we fool a neural network exactly? We construct an adversarial example, a fake picture that is imperceptibly different from the original image but the neural net will classify it as an entirely different category. Here is an example of an adversarial image I constructed for the challenge:
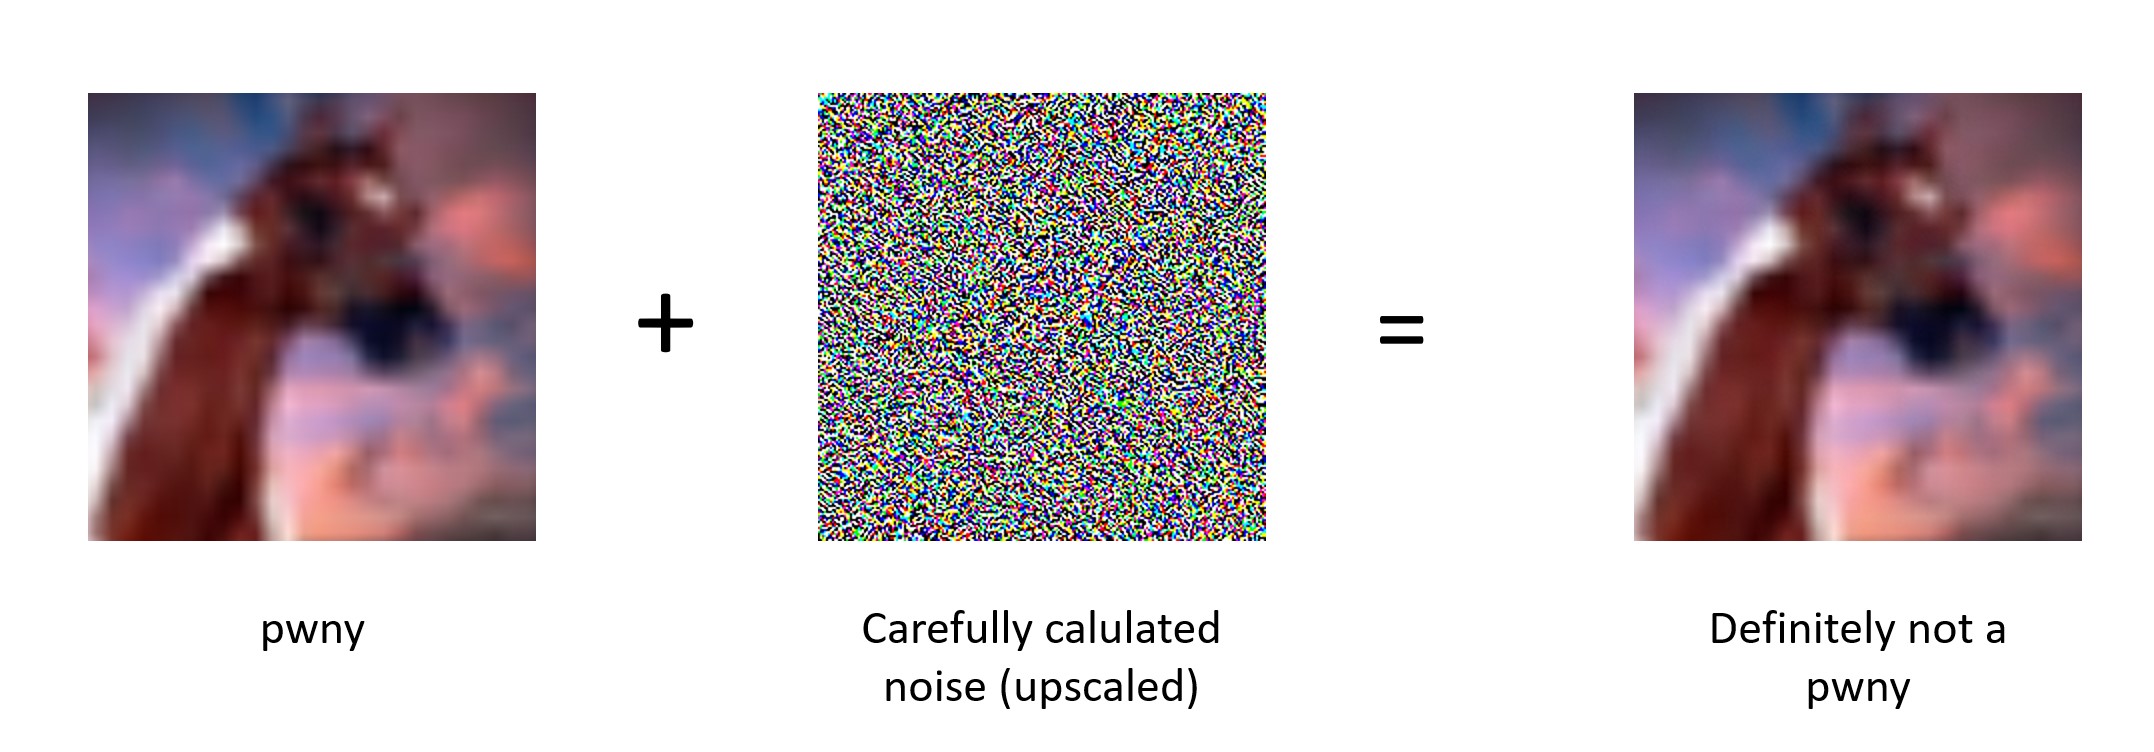
The trick lies in calculating that noise. In this case we will use the Carlini & Wagner (C & W) method to build the adversarial example. The C & W is both easy to implement and produces quite nice and easily tunable outputs. Basically we use the same Gradient Descent Algorithm the neural net uses to adjust its parameters but we apply it on the input instead of the weights and biases of the model. Using a framework like pytorch it’s easy to take the gradient with respect to the image. Additionally we want to optimize a different kind of loss. This loss has to incorporate two things:
- How wrong are we? (this is good in our case)
- How far from the original input are we?
The first part of the loss function is a function Carlini and Wagner called \(f(x)\) where \(x\) is the adversarial input. Concretely we will use:
\[f(x) = max\{max\{model(x)\}_{i\neq j}-model(x)_j, -k\}\]Where \(j\) is the correct output label and \(k\) is an adjustable hyperparameter which determines how wrong the prediction must be. Basically the inner \(max\) selects the highest score of any of the labels that are not the correct one. It then subtracts the score of the correct label from best candidate. If this is positive the model will still classify the input correctly. Once this is negative the classifier is fooled by the model. The parameter \(k\) determines a margin of how wrong we actually want the prediction to be.
For the second part of the loss function we just use the mean square error between the original image and the modified one. Furthermore we need a weighting parameter \(c\) to determine the relative weight of the two different parts of the loss. A larger \(c\) will weigh \(f(x)\) stronger.
All in all the loss will be:
This loss can be used as a drop in replacement for the usual neural net loss. Using pytorch one can simply define a standard training loop using this loss to compute an adversarial example.
The Attack Script
For my attack during the competition I used a slightly modified version of Harry24k’s implementation on github:
def cw_l2_attack(model, images, labels, targeted=False, c=1e-4, kappa=0, max_iter=1000, learning_rate=0.01) :
	 # https://github.com/Harry24k/CW-pytorch/blob/master/CW.ipynb

	 images = images.to(device)
	 labels = labels.to(device)
	 # Define f-function
	 def f(x) :
		 outputs = model(x)
		 one_hot_labels = torch.eye(len(outputs[0]))[labels].to(device)

		 i, _ = torch.max((1-one_hot_labels)*outputs, dim=1)
		 j = torch.masked_select(outputs, one_hot_labels == 1)

		 return torch.clamp(i-j, min=-kappa)


	 w = images.detach().clone()
	 w.requires_grad= True

	 optimizer = torch.optim.Adam([w], lr=learning_rate)

	 prev = 1e10

	 for step in range(max_iter) :
		 a = w

		 loss1 = nn.MSELoss(reduction='sum')(a, images)
		 loss2 = torch.sum(c*f(a))
		 cost = loss1 + loss2

		 optimizer.zero_grad()
		 cost.backward()
		 optimizer.step()

	     # Early Stop when loss does not converge.
		 if step % (max_iter//10) == 0 :

			 if cost > prev :

				 print('Attack Stopped due to CONVERGENCE....')
				 return a.detach().clone()

			 prev = cost

		 print('- Learning Progress : %2.2f %% ' %((step+1)/max_iter*100), end='\r')

	 attack_images = w

	 return attack_images.detach().clone()
After a little bit of experimentation I settled on $c=1$ and left $k=0$. This seemed to produce relatively solid outputs. All I had to do now was to automate the process of downloading the image, producing a modified one and uploading it since this had to be repeated 50 times. I used selenium and a script somewhere along the following:
from selenium import webdriver

driver = webdriver.Firefox()
driver.get('http://pwnies-please.chal.uiuc.tf/?')

while not driver.find_element_by_id('response').text.startswith('uiuctf{'):
	 img = driver.find_element_by_xpath('//img')
	 img_bytes = base64.b64decode(img.get_attribute('src').split(',')[1])

	 with open('pwnies_pls/pwny.png', 'wb') as fp:
	 	fp.write(img_bytes)

	 orig = open('pwnies_pls/pwny.png', 'rb')
	 img = transform_image(orig)

	 att = cw_l2_attack(model_nonrobust, img, torch.tensor([7]), c=1)

	 print()

	 print(torch.argmax(model_nonrobust(att)))


	 att_img = tensor_to_image(att)

	 with open('pwnies_pls/not_a_pwny.png', 'wb') as fp:
	 	att_img.save(fp)

	 s = driver.find_element_by_xpath("//input[@type='file']")

	 s.send_keys('./pwnies_pls/not_a_pwny.png')

	 submit = driver.find_element_by_xpath("//input[@type='submit']")
	 submit.click()

	 print(driver.find_element_by_id('response').text)
All that’s left to do now is wait about five minutes for the script to complete and receive the flag.